Docker is a technology that allows developers to deploy applications across a much wider range of systems. It does this by “containerizing” certain hardware and software features so developers can deploy applications to more predictable software environments.
Installing Docker for Windows is a breeze—made possible by a Windows-based installer provided, for free, by Docker. This quick tutorial is meant to serve as a brief practical guide to installing Docker on a Windows 10 machine—refer to the documentation for complete guidance.
Initial Download and Install
The first step is to download Docker’s installation manager. This software will launch and install the Docker software on your local machine. After the software has finished installing you will be prompted with a standard license and terms page:
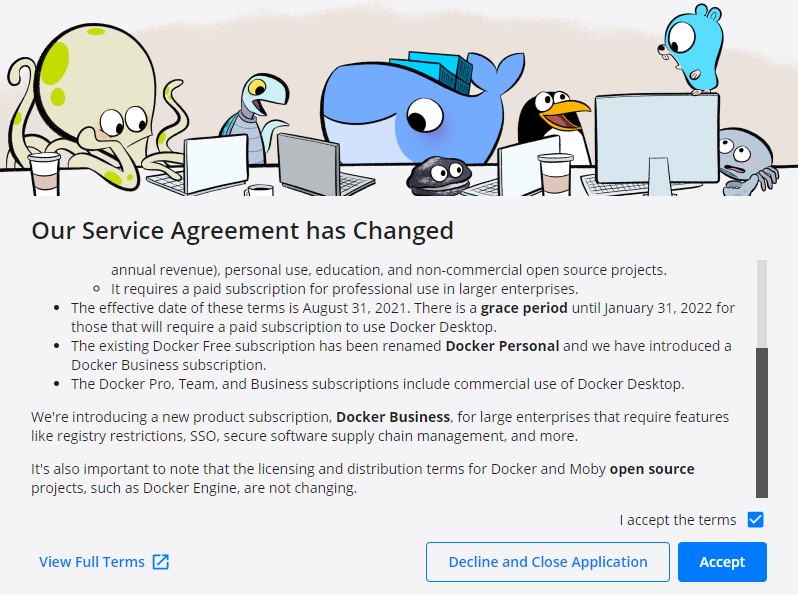
After accepting the terms, Docker will launch for the first time. This can be a seamless process, or—in such cases that were the inspiration for this post—one riddled with warnings, exceptions, and necessary reboots. For example, one might see a screen such as this the first time attempting to boot Docker after install:
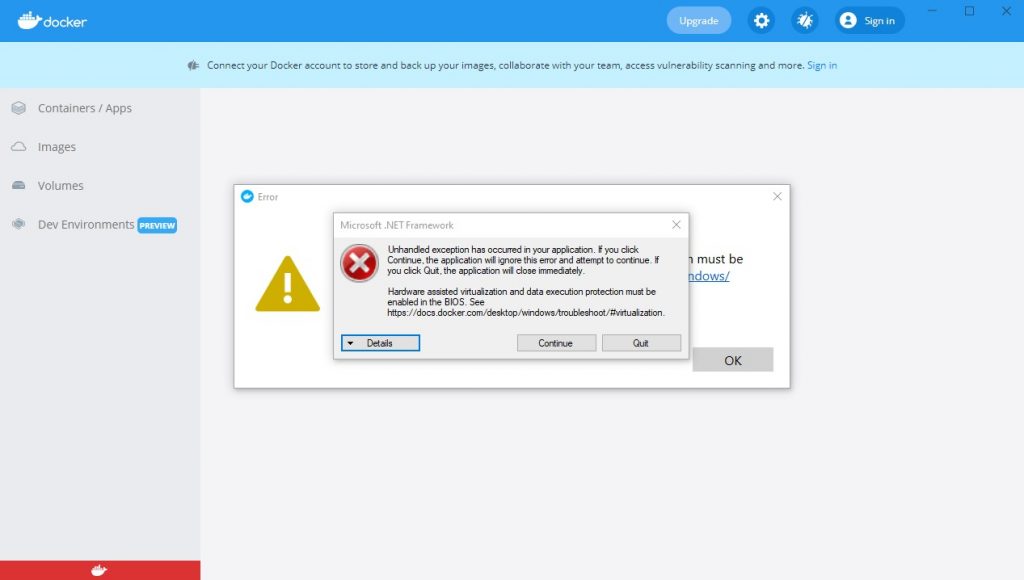
This is a common error when getting started with virtualization applications and, in most cases, can be remedied. One need only to reboot, hit F2 and/or DEL to enter BIOS (on most systems), and then find the proper option to enable hardware virtualization. There are other errors that may occur during the initial launch of Docker and the remainder of this post will cover the most common.
Enabling Virtual Machine Platform
Windows VMP allows the system to allocate more compute resources for virtualized environments. There are two steps to fully enabling this service to allow for Docker to run.
- Enable the Virtual Machine Platform option in the Turn Windows Features On/Off section;
- Enable Hardware Virtualization via your Mother Board’s BIOS menu. Note that this process will differ based on your system’s motherboard.
Enabling Window Virtual Machine Platform
The Windows Virtual Machine Platform can be enabled by typing Turn Windows Features On or Off into the search box on the Windows Task Bar (look for the option to pop up after the first word is typed.) You should see something like this image:
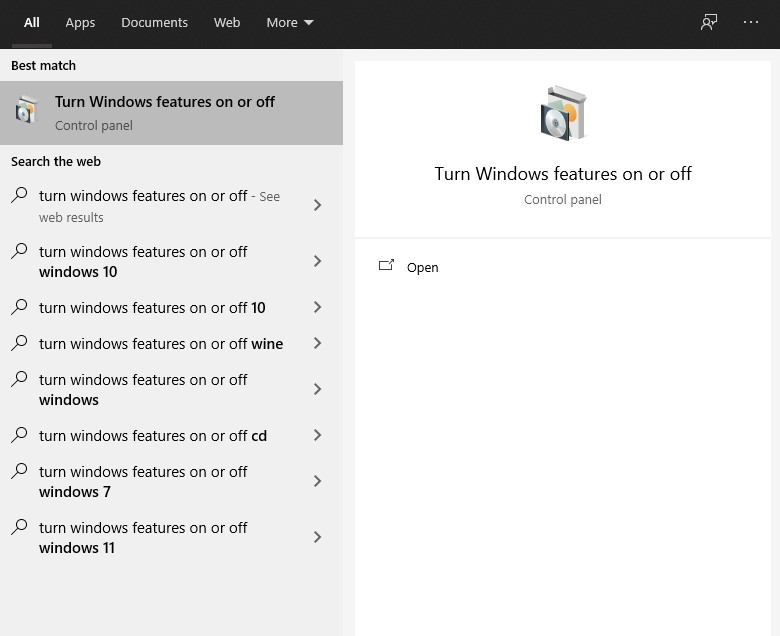
After clicking that menu option you will then see the following screen pop up:
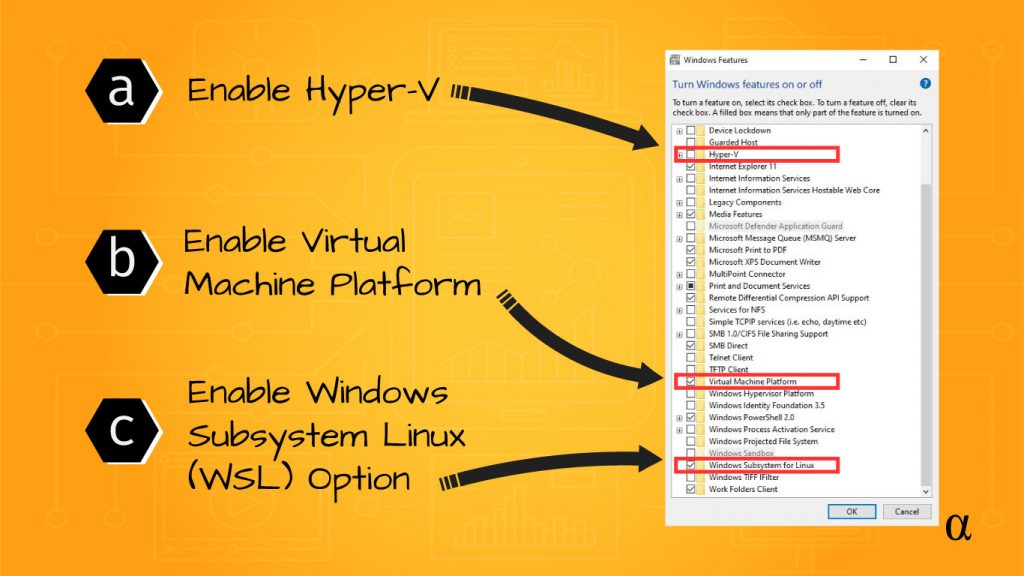
Both the Virtual Machine Platform and Windows Subsystem for Linux options need to be enabled for Docker to run on Windows. Ensure the dialog box on your machine reflects that shown in the image above before proceeding.
Enabling Hardware Virtualization via BIOS
There are countless ways to do this depending on the motherboard your system is running and possibly even the firmware version that board is running. This post cannot, nor will it attempt to, cover even half of the possible configuration options out there.
As a single example, however—for an MSI-based board—one need only “enable” the SVM option in BIOS, as explained here. For a more general discussion on hardware virtualization, check out this resource by the University of Berkley.
Enabling Hyper-V
In some cases, Docker may not function properly without Windows 10’s Hyper-V service enabled. This is an optional feature that is bundled with Windows and thus requires no additional downloads. Read the documentation here. If Docker still throws an error after enabling the WSL and VMP this option will need to be enabled.
Installing Linux Subsystem for Windows
Since 2017 Windows has allowed users to install a Linux-based OS as a “subsystem” in the normal Windows 10 environment. This is known as the Windows Subsystem for Linux (WSL). The initial implementation (WSL1) wasn’t a full-fledged distribution of Linux and had many drawbacks.
Since Version 1903 (~May 2020) Windows now supports WSL2 which offers a more robust Linux environment featuring the full Linux kernel. Read more about WSL1 vs. WSL2 here. One drawback of WSL—in terms of software compatibility—is that it requires a virtualization engine known as Hyper-V to be present, and running.
This virtualized the Linux Kernel and allows a fuller-featured Linux experience in a Windows environment. However, this initially made it impossible for other virtualization solutions like VMware or Oracle’s VirtualBox to run. However, those issues have reportedly been fixed for both VMware and VirtualBox.
Installing
Run the following command: wsl --install. If WSL is already installed on your system this won’t accomplish very much. If not, however, buckle up for a bit of a process. If WSL2 is already installed, but possibly out-of-date, you may receive a Docker.ApiServices.WSL2.WslKernelUpdateNotInstalledException message when Docker starts up, something like this:
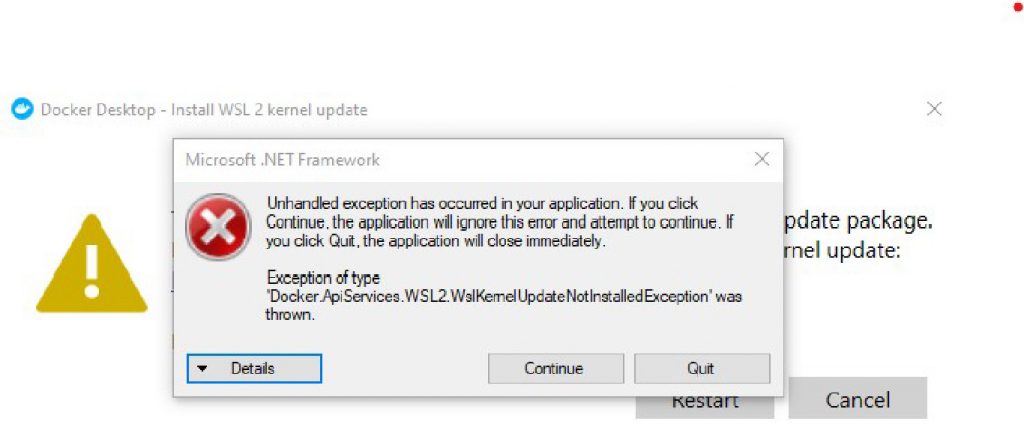
If you are receiving a then you have the WSL2 subsystem installed and only need to update via the wsl --update command. This will produce the following output (as of 10/2021):
C:\Windows\system32>wsl --update
Checking for updates...
Downloading updates...
Installing updates...
This change will take effect on the next full restart of WSL. To force a restart, please run 'wsl --shutdown'.
Kernel version: 5.10.16
To avoid rebooting the entire system, you can simply run the wsl --shutdown command and then follow up with the wsl command (all in the same terminal session.) This will result in a new instance of the Linux Subsystem.
Note: If you get a message that wsl isn’t a valid command that means you are already in the WSL system! WSL is a Windows-recognized command.
Update Apps
Linux provides a convenient way for users to be notified of and install updates to their system applications. The apt update and apt install commands will, in order, fetch a list of apps that have possible upgrades and then install those upgrades to the system.
While updating the WSL system one might as well update other applications as well—why not, right? Read more about the inner workings of apt-update and apt-upgrade here. If you received a WslKernelUpdateNotInstalledException earlier chances are your system will benefit greatly from updating applications.
Re-Launch Docker
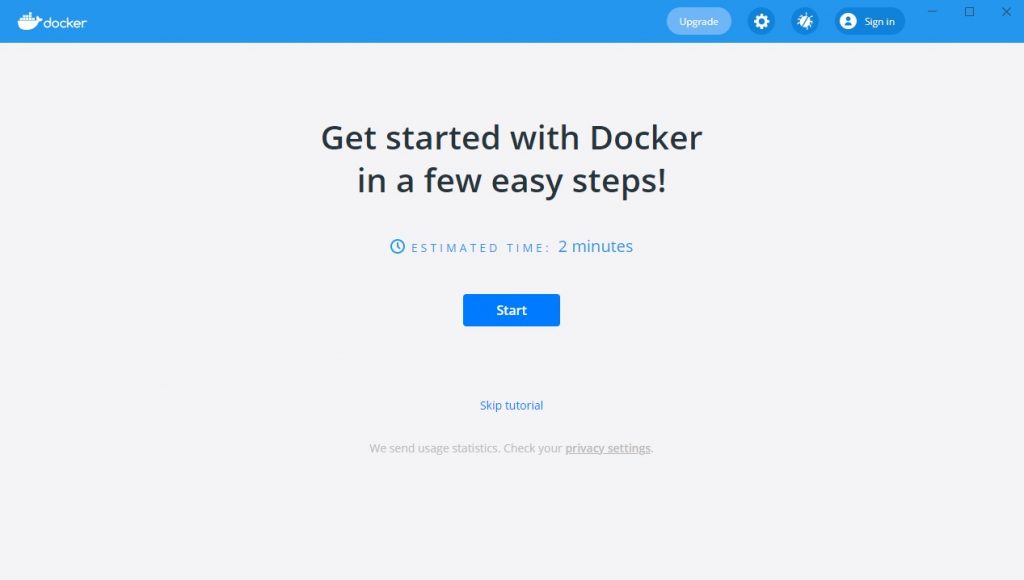
Docker should now be ready to launch after enabling the Windows Virtual Machine platform, installing and ensuring WSL is up-to-date, and ensuring hardware virtualization is enabled in BIOS. Assuming all has gone according to plan, you should now see the following screen when launching Docker:
Further Reading
This article is meant to outline only the common steps and issues related to installing Docker on a Windows 10 Machine. For more information on the WSL system, its initial installation, and performance benefits vs. the WSL1 system, read Microsoft’s Comparing WSL 1 and WSL 2 post in their documentation and the Microsoft documentation for installing WSL.
Final Thoughts
Docker is a power virtualization tool that is utilized by developers around the world. Its ability to provide a wider range of software and hardware support helps make deploying applications—especially cloud-based applications—much less technical and frustrating. At the very least, it allows developers and businesses to be more selective regarding services such as hosting, storage, and database management.
Installing Docker on Windows is a straightforward process but, like anything software-related, is prone to some bugs. The issues described in this article are some of the common issues one might face during installation. If you are aware of any other common problems please don’t hesitate to reach out and describe them and have them considered for inclusion here.


