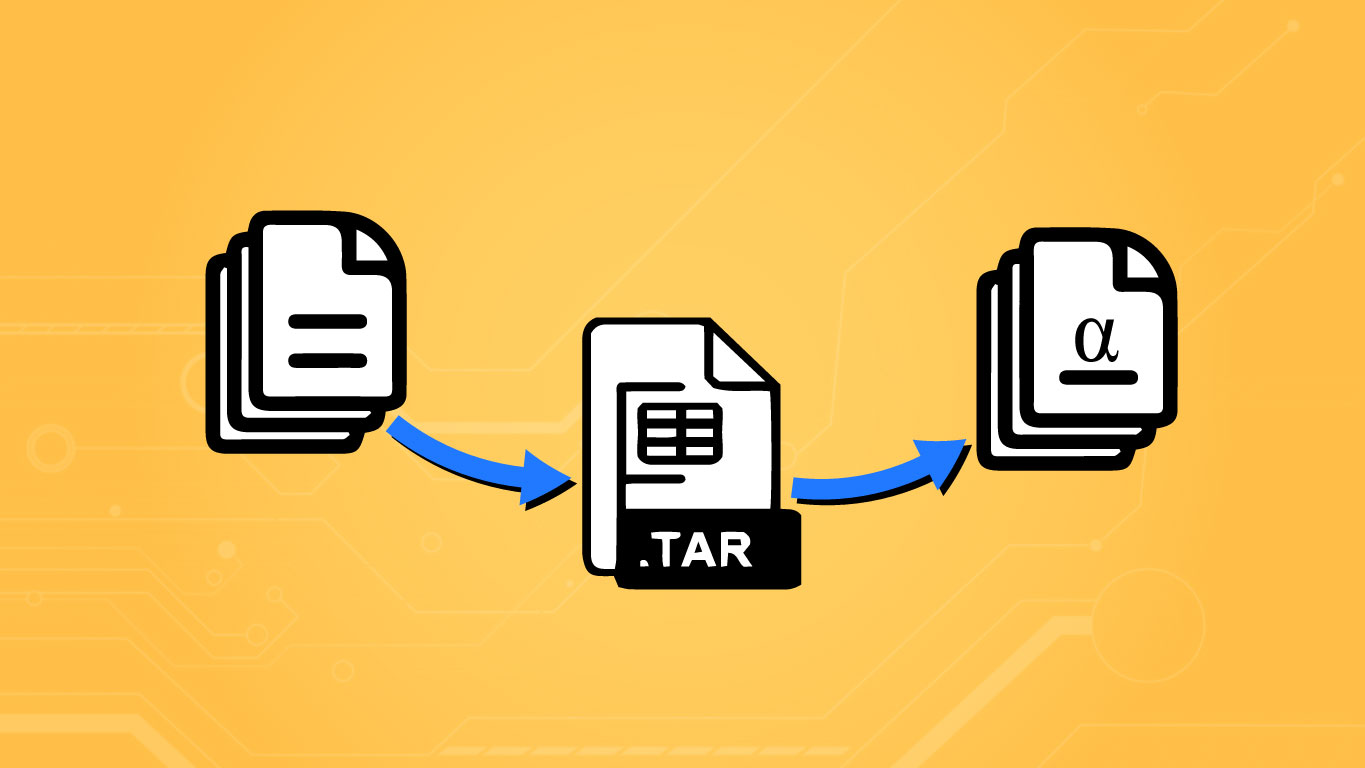
The tar utility provides a user-friendly means of compressing and extracting files from the terminal. This utility can help save disk space, make transferring data across networks more efficient, and help create a tidier file structure. Knowing the basics of the tar utility is a must-have skill for any developer.
TL;DR – The tar command compresses and decompresses files. To compress files, the following syntax is used:
# create an archive named 'output.tar.gz' containing 'file1.txt' and 'file2.txt'
$ tar czvf output.tag.gz file1.txt file2.txt

# extract content of 'output.tar.gz' to current working directory
$ tar xvf output.tar.gz
These two examples are enough to deliver in most casual use-cases of needing the tar utility. However, there are many more features to this utility and several gotchas that any using it should be aware of. This article will dive into these issues and provide several more examples.
Introduction
The tar command is used in Linux systems for compression. This command is the common source of files ending in extensions like .tar.gz, and .tar.bz with the gz and bz indicating which compression algorithm was used. These resulting files are often referred to as tarballs. The linux.org documentation for the tar command describes it as follows:
GNU `tar’ saves many files together into a single tape or disk archive and can restore individual files from the archive.
Not many readers are likely to be compressing to “tapes” these days. Nonetheless, it’s interesting to know the utility traces its motivation back to the need to store data more efficiently when tape drives were heavily utilized. Now that we know the general purpose of the tar utility let’s consider how to use it.
Compressing Files Using Tar
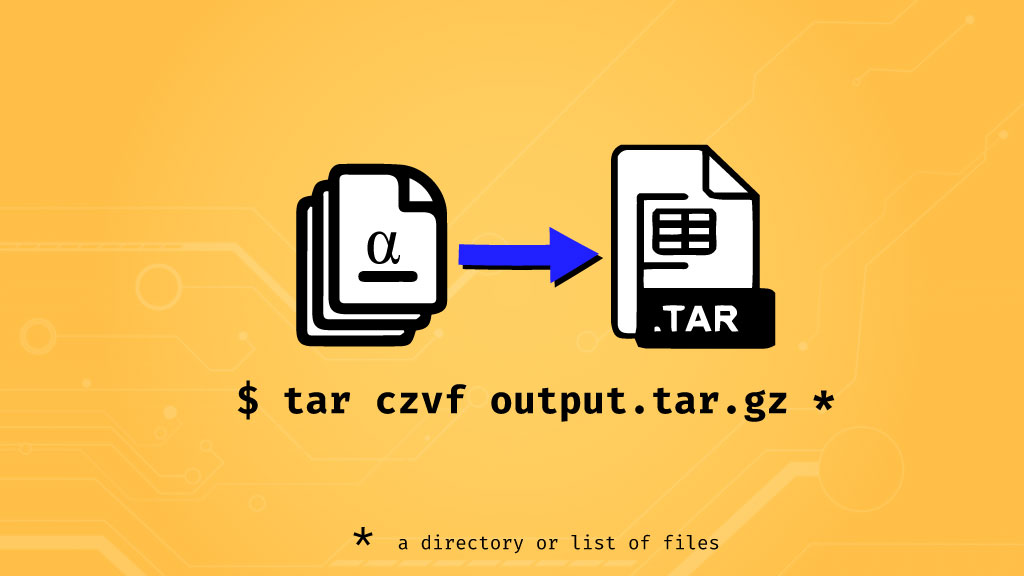
The c operation flag instructs the tar utility to use compression mode. This will compress file data into a single archive. This operation mode requires certain parameters to be passed along including the output filename and input files.
Other options such as which compression algorithm and the verbosity level (what prints to console) are common as well. Let’s consider some examples using the following file structure:
.
└── projectFolder/
    └── files/
        ├── file1.txt
        ├── file2.txt
        └── file3.txt
Now, with an instance of the terminal running and the current working directory set to projectFolder, we issue the following command string:
tar cvzf output.tar.gz files
This is a tar directory command by which the entire files directory (and all contained data) will be included in the resulting archive. When issuing this command we should see the console reflect the following output:
$ tar cvzf output.tar.gz files
files/
files/file1.txt
files/file2.txt
files/file3.txt
This output is generated because we included the v options flag indicating a verbosity level of 1, which simply outputs the name of all files included in the archive. Our project folder now reflects the following:
.
└── projectFolder/
    ├── output.tar.gz  <----- New File
    └── files/
        ├── file1.txt
        ├── file2.txt
        └── file3.txt
Note the appearance of a new file named output.tar.gz. This file contains compressed versions of all files in the file directory. The f flag indicates output.tar.gz as the endpoint for compressed data.
Note: without the f option specified tar will attempt to stream the compressed data to stdout. In almost all cases this will result in unwanted behavior and an error.
Extracting Files Using Tar
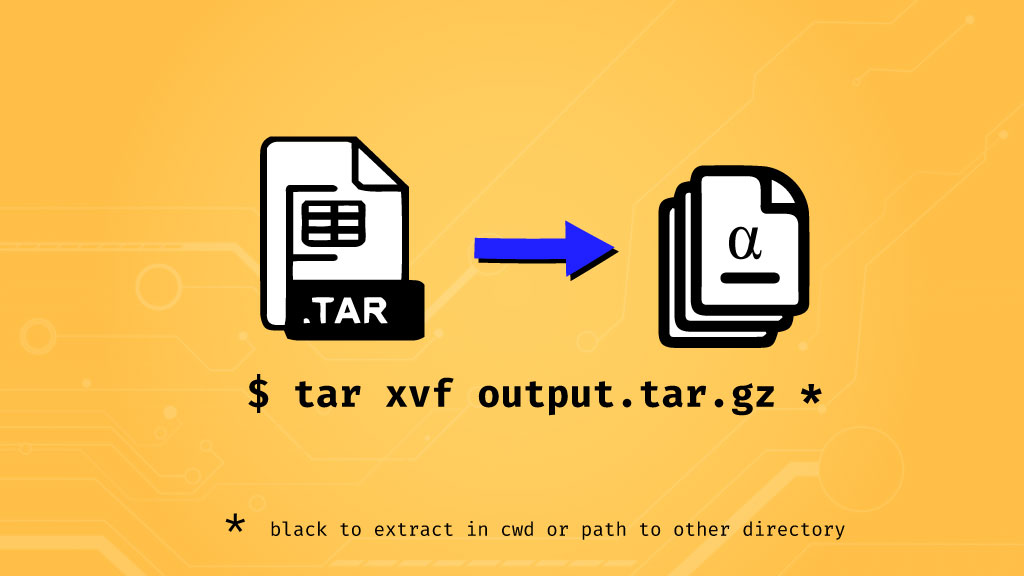
The tar utility provides an operation mode to extract files from archives as well. This operation mode is signified by the x flag. Let’s consider a new project structure in which an output.tar.gz file is already contained, run the tar utility in extraction mode, and consider the output. Here’s our starting file structure:
.
└── projectFolder/
    └── output.tar.gz
This is essentially going to be the reverse of our previous compression operation. From the projectFolder directory, we input the following command:
$ tar xvf output.tar.gz
This command utilizes the x operation flag, the v verbosity flag, and the f flag indicating the output filename. We should see the following output to the terminal window:
$ tar xvf output.tar.gz

files/
files/file1.txt
files/file2.txt
files/file3.txt
This outputs each file within the archive that is being extracted. By default, the tar utility will extract the files in an archive to the same directory unless the -C option is specified followed by the desired output directory. Given our omission of such an option, our project folder now reflects the following structure:
.
└── projectFolder/
    ├── output.tar.gz
    └── files/
        ├── file1.txt
        ├── file2.txt
        └── file3.txt
Here we see the directory files extracted along with file1.txt, file2.txt, and file3.txt. This reflects the structure that was present in the archive we created in the previous step.
Advanced Usage
The tar utility comes with a wide range of options to achieve
- tar command
- Operation mode
- options
- optional output filename
- input file(s) or directory
These are the essential arguments to successfully run the tar utility. The tar command is always required but syntax differs afterward depending on the use case. For example, operation mode specifies whether one chooses to compress or decompress an archive. Let’s walk through some examples.
Compression Algorithms
Tar supports both gzip and bzip2 compression formats. These are indicated by the use of either the z or j flags respectively. Generally, these are better suited for different use cases:
- gzip: faster algorithm resulting in slightly larger files
- Bzip2: slower algorithm resulting in smaller files
Gzip is a more universally-compatible algorithm and is often used to compress content served via TCP/IP protocols. You’ll note many HTTP request headers indicate the willingness to accept gzip as the response type. Check out this article on performance comparisons of compression algorithms for more information.
Verbosity Levels
The -v flag is used to indicate the level of verbosity reflected on the console. Not including the v flag at all signifies a level of 0 which results in no output. A single v flag indicates a verbosity level and one can include the flag up to three times to increase the verbosity level. The following output is streamed to the console when issuing the command tar czvvvf output.tar.gz files
drwxrwxrwx pc/user         0 2021-11-11 11:11 files/
-rwxrwxrwx pc/user         0 2021-11-11 11:11 files/file1.txt
-rwxrwxrwx pc/user         0 2021-11-11 11:11 files/file2.txt
-rwxrwxrwx pc/user         0 2021-11-11 11:11 files/file3.txt
Note this produces the privileges, ownership, and modification information related to all files affected by the tar command.
More Commands
Flags indicated by the user come as command flags and option flags. Command flags indicate core operation intent such as compression vs. extraction while options flags indicate things like compression type or whether or not to output progress to the console. Below are some common operation commands:
- -f or -filename: indicates the next command line entry to be the output filename.
- c: indicates compression being the desired action
- x: indicates decompression (extraction) as the desired action
- v: verbosity flag indicating a list of files to be streamed to standard output.
- z: GZip algorithm indication
- j: specifies bzip2 as the compression algorithm
- s: preserved order
For a detailed overview of the available commands and options available for the tar utility check out this page.
History
The tar utility was developed in the early 1970s when taped storage was still prevalent. The name tar is an acronym for Tape Archive. The utility was used to store information to sources with metadata indicating file names, modified dates, access rights, and ownership.
Tar was introduced in early 1979 as a replacement to the now-defunct tp utility. It underwent several standards revisions ultimately reflecting the IEEE 1003.1-2001 POSIX Standard. The tar utility is now considered a standard inclusion in UNIX-like operating systems, such as Ubuntu and other flavors of Linux.
The tar utility was conceived to address storage efficiency concerns related to tape archives. By nature of design, these mediums left a considerable percentage of total storable space vacant between blocks of data. This was to accommodate the starting and stopping of data.
Since data was often written in variable-length blocks, this resulted in many such vacant spaces causing inefficiency in storage. The tar utility addressed this issue by compressing data into fixed-size blocks of 512 bytes, preceded by headers of the same size, and rounded up to the nearest 512 bytes to enforce similar sizing.
Final Thoughts
The tar utility is a powerful command line-based utility that makes compressing and decompressing files easy. While loaded with possible options, one need only be familiar with a few to take advantage of tar. Whether you’re preparing an entire directory for long-term storage, sending some files over the network, or extracting the latest release of your favorite software—tar can lend a hand.


